 how-to
How to Spot Roof Leaks Early: A 2026 Guide
Table of Contents
- Common Causes of Roof Leaks Worth Knowing First
- Signs of Roof Water Damage in the Attic
- Identifying Water Damage on Ceilings and Walls
- How to Inspect Your Roof for Leaks Safely
- How to Spot Roof Leaks Early: A Visual Checklist by Roofing Material
- Preventative Roof Maintenance to Stop Leaks Before They Start
- When to Call a Professional Roofer in Indianapolis
- Conclusion
Spotting a roof leak before it becomes a structural disaster is one of the most valuable skills a homeowner can develop. This guide shows you exactly how to spot roof leaks early, what warning signs to prioritize, and when to call a professional before the damage compounds.
Common Causes of Roof Leaks Worth Knowing First
Roof leaks follow predictable patterns, and understanding those patterns makes every inspection more effective.
Flashing failures are the single most common source of seepage. Flashing is the thin metal strip that seals transitions between your roof and vertical surfaces like chimneys, skylights, and walls. When it corrodes, pulls away, or was installed poorly, water finds the gap immediately.
Penetration points are the second major culprit. Every pipe, vent, or exhaust stack that passes through your roof deck is a potential entry point. The rubber boots and sealants around these penetrations degrade over time, especially under the thermal cycling Indianapolis winters and summers produce.
Other common causes include curled or missing shingles, ice damming along eaves, clogged gutters, wind uplift, nail pops, and aging underlayment. According to the Insurance Information Institute's guidance on home water damage, water intrusion is among the most frequently filed homeowner insurance claims in the United States.
Water travels when it leaks. A penetration point at the ridge can produce a stain six feet away on a ceiling below. That's why tracing the source requires looking higher and further than where the damage appears.
Signs of Roof Water Damage in the Attic
Attic inspection is where early detection actually happens. By the time a leak shows up on a living room ceiling, it has already been damaging your roof deck, insulation, and framing for weeks or months.
What to Look for During a Flashlight Inspection
A proper flashlight inspection of the attic takes about 20 minutes and requires only a strong flashlight. Work systematically from one end of the attic to the other.
Focus on these specific indicators:
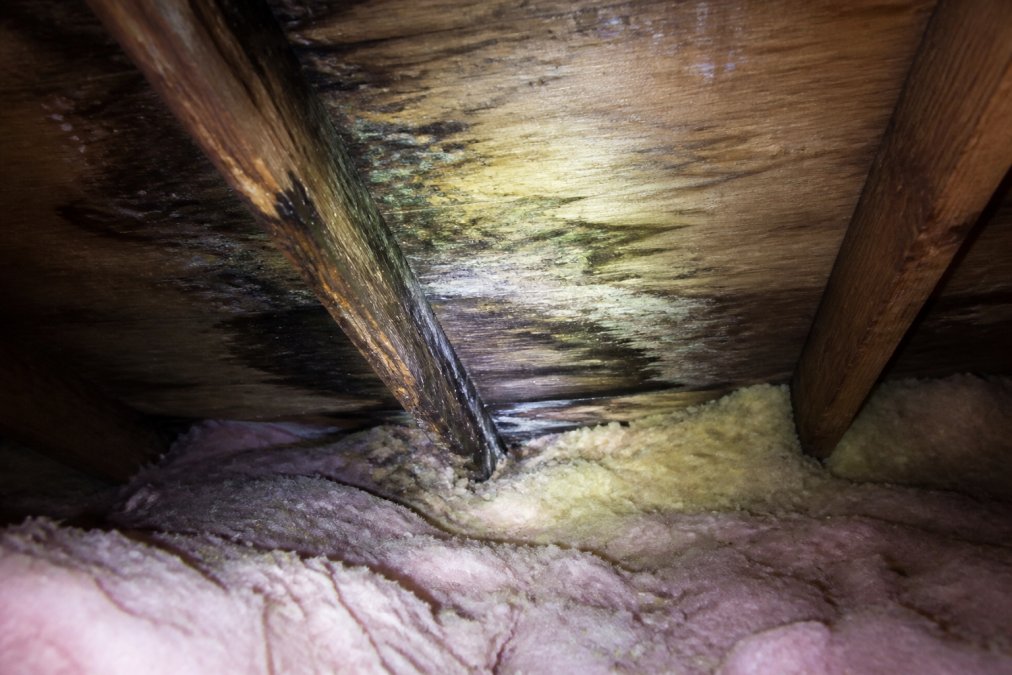
- Water stains on rafters and roof deck boards. These appear as dark streaks or discoloration running down the wood grain. Fresh stains look wet or have a darker center; older stains leave a tide-mark ring.
- Water trails on the sheathing. Follow any trail upward to find the actual entry point, which is almost always higher than where the staining ends.
- Daylight visible through the roof deck. Any visible light means there is a gap. This is urgent.
- Rust stains around nail heads. Nail pops and corroded fasteners indicate chronic moisture intrusion at those points.
- Compromised ventilation baffles. Blocked ventilation traps heat and moisture, accelerating structural rot even without an active leak.
Damp Insulation, Mold Growth, and Musty Odors
Damp insulation is one of the clearest signs of moisture intrusion. Compressed, matted, or discolored insulation batts are red flags. Wet insulation loses most of its thermal value and becomes a medium for mold growth within 24 to 48 hours of saturation.
Mold growth in an attic appears as black, gray, or green patches on wood surfaces. A musty odor when you open the attic hatch is often the first signal homeowners notice. If you find mold covering more than a small area, contact a remediation professional before completing the inspection.
Identifying Water Damage on Ceilings and Walls
Ceiling and wall water damage is the visible consequence of a leak that has already progressed.
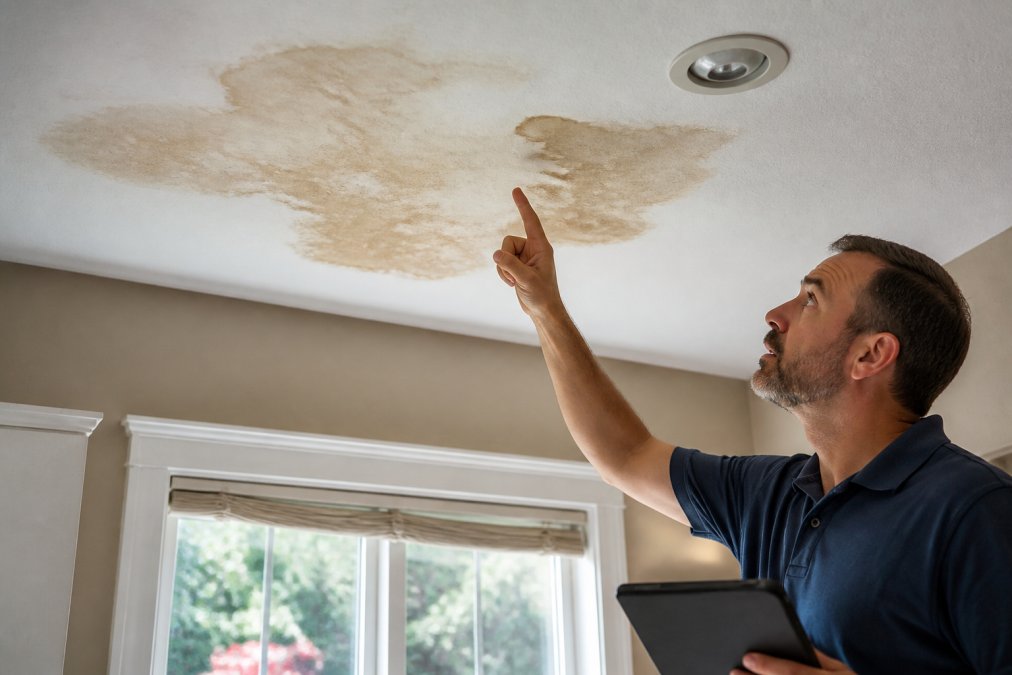
Ceiling bubbling indicates water has pooled between the ceiling material and the layer above it. This is an active or very recent leak.
Yellow or brown staining in a ring pattern is a dried leak. Multiple overlapping rings suggest the leak has happened repeatedly.
Paint peeling or blistering on walls near the roofline often indicates that moisture is moving through the wall cavity from above.
Sagging drywall or plaster is a structural warning. The material has absorbed enough water to lose integrity.
Check the tops of interior walls where they meet the ceiling, particularly in rooms directly below the attic. This junction is where wall-cavity moisture first becomes visible, often weeks before a ceiling stain forms.
How to Inspect Your Roof for Leaks Safely
Exterior roof inspection requires planning before you ever touch a ladder. Falls from residential roofs cause serious injuries every year.
Safety Protocols Before You Go Up
These protocols are non-negotiable:
- Never inspect a wet roof. Wet shingles are significantly more slippery than they appear. Wait at least 24 hours after rain.
- Use a properly rated extension ladder secured at the base and extended at least three rungs above the roofline.
- Wear rubber-soled, non-slip boots. Standard sneakers are not adequate on roof pitch above 4:12.
- Work with a partner who can stabilize the ladder and call for help if needed.
- Do not walk on the roof if the pitch exceeds 6:12 unless you have a roof bracket system or harness.
- Inspect from the ladder or from the ground with binoculars when in doubt.
Exterior Inspection: Shingles, Flashing, and Penetration Points
A systematic exterior inspection moves from the ground up, then from the ridge down.
From the ground or ladder:
- Look for missing, curled, or cupped shingles. Curling at the edges indicates thermal stress and age.
- Check for shingle granules accumulating in gutters or at downspout exits. Granule loss accelerates UV degradation.
- Look for hail damage: circular dents or bruising on shingles, particularly visible on aluminum flashing.
- Inspect the drip edge for rust, gaps, or sections that have pulled away from the fascia.
At the roof surface (if safe to access):
- Press gently on shingles near the eaves and valleys. Soft or spongy areas indicate rot in the roof deck beneath.
- Examine all flashing at chimney bases, skylight frames, and wall intersections. Look for gaps, rust, lifted edges, or cracked sealant.
- Check every penetration point: plumbing vents, exhaust fans, and HVAC stacks. The rubber boot at the base of each should be intact.
- Look for wind uplift damage along ridgelines where shingles may have lifted and re-adhered imperfectly.

How to Spot Roof Leaks Early: A Visual Checklist by Roofing Material
Different roofing materials fail in different ways. Use the section below that matches your roof.
| Roofing Material | Key Failure Points | What to Look For | Urgency Signal |
|---|---|---|---|
| Asphalt Shingles | Granule loss, curling, flashing gaps | Bald patches, curled edges, rust stains | Missing shingles or exposed deck |
| Metal Roofing | Fastener corrosion, panel seam gaps | Rust streaks, lifted seams, sealant cracks | Visible rust on deck or walls below |
| Tile (Clay/Concrete) | Cracked or slipped tiles, mortar failure | Displaced tiles, crumbled mortar at ridge | Broken tiles exposing underlayment |
| Flat/Low-Slope (TPO, EPDM) | Membrane punctures, seam separation | Ponding water, bubbles, visible seams | Standing water after 48 hours |
| Wood Shake | Splitting, moss/algae growth, rot | Dark discoloration, soft spots, gaps | Widespread moss or visible daylight |
For asphalt shingles specifically, Indianapolis homes face accelerated granule loss from hail, which is common in Indiana's spring storm season. After any hail event, check gutters within 48 hours. A heavy granule deposit after a storm is a reliable indicator of shingle damage worth documenting for an insurance claim.
For flat roofs, ponding water that remains more than 48 hours after rainfall indicates a drainage problem that accelerates membrane deterioration.
Preventative Roof Maintenance to Stop Leaks Before They Start
Preventative maintenance consistently outperforms waiting for a visible problem to develop.
A practical annual maintenance routine includes:
- Spring inspection after the freeze-thaw season to identify ice dam damage, lifted flashing, and shifted shingles
- Fall inspection before the first frost to clear gutter debris, check seals around penetration points, and ensure ventilation pathways are clear
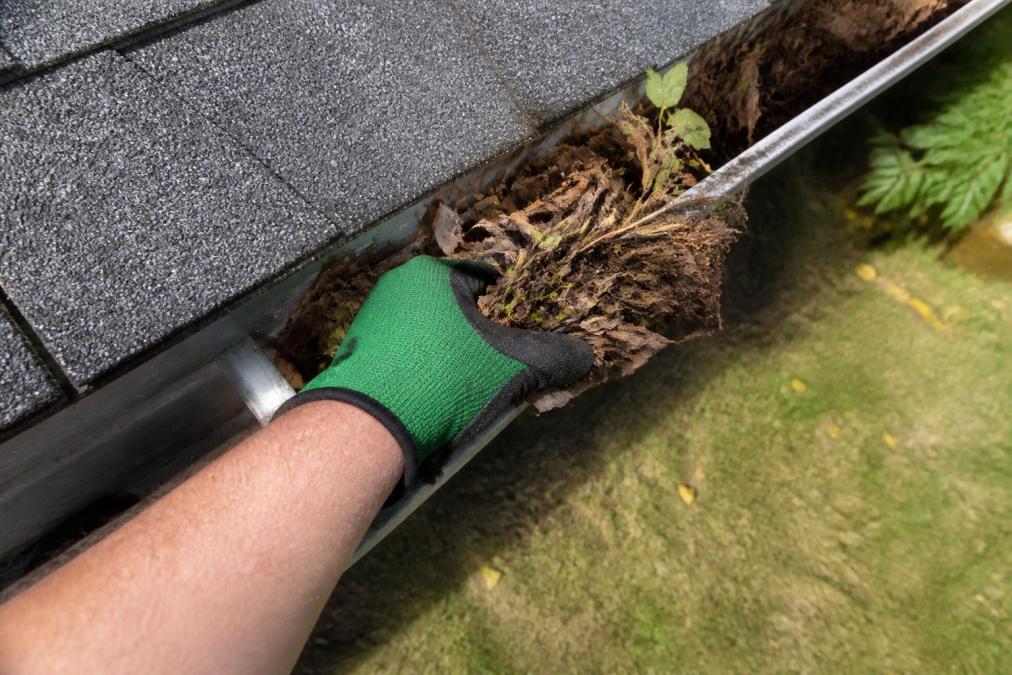
- Gutter cleaning at minimum twice per year, more frequently if your property has significant tree cover
- Trimming overhanging branches that deposit debris on the roof surface and create abrasion points during wind events
- Checking attic ventilation annually to confirm that intake and exhaust vents are unobstructed
According to the National Roofing Contractors Association's maintenance guidance, regular professional inspections extend roof service life and reduce the likelihood of unexpected failure. For most residential roofs, a professional assessment every two to three years is reasonable, with annual inspections for roofs over 15 years old.
Roof integrity depends as much on what surrounds the roof as the roof itself. Siding gaps, failed caulking at window and door trim, and deteriorating soffit panels all create secondary pathways for water to enter the wall cavity.
When to Call a Professional Roofer in Indianapolis
Call a professional roofer when:
- You find active water staining in the attic or on ceilings
- Any shingles are missing, significantly curled, or show exposed deck
- Flashing is visibly separated, rusted, or missing at any transition point
- You've had hail or high winds and want a documented assessment before filing an insurance claim
- Your roof is over 20 years old and has not been professionally inspected in the last two years
- You find mold in the attic covering more than a small, isolated area
- You cannot safely access the roof for a self-inspection
For homeowners searching for a roofer near me in the Indianapolis area, prioritize companies that provide a written inspection report. A written report documents the condition of your roof at a specific date, which matters both for insurance purposes and for tracking the progression of any identified issues.
Insurance Documentation After Storm Damage
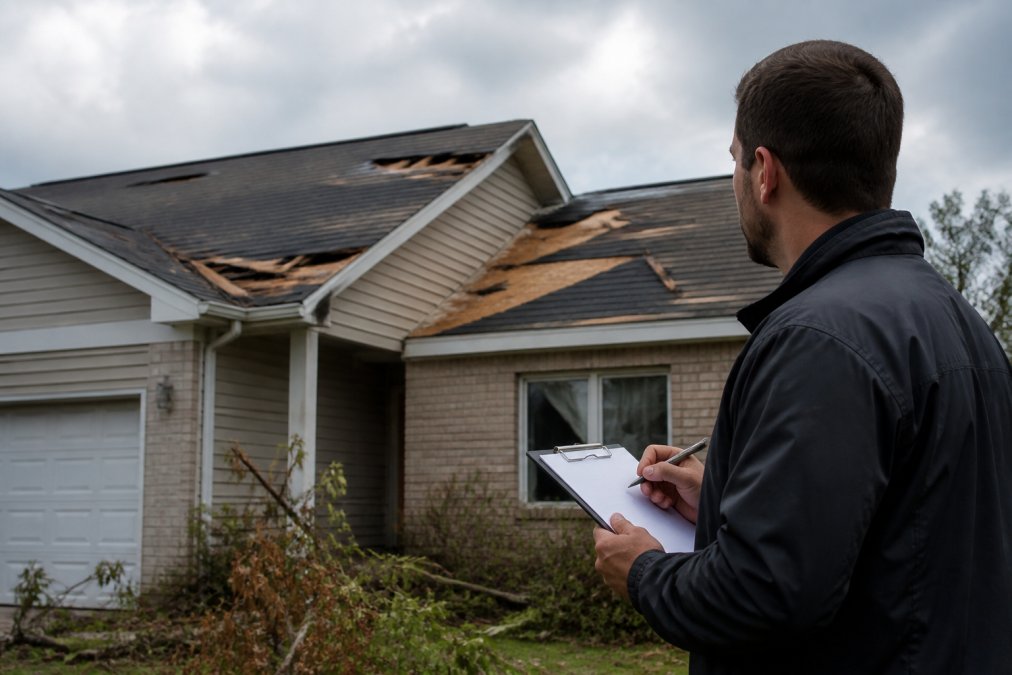
Storm damage claims require documentation that most homeowners don't collect in time. The window between a storm event and a well-documented claim is short.
Immediately after a storm that you believe caused roof damage:
- Photograph the exterior of your home from all four sides, including the ground-level view of the roofline
- Photograph any visible damage to gutters, siding, and window trim
- Photograph gutter debris before cleaning, particularly granule accumulation
- Document the date and nature of the storm from a local weather service record
- Do not make permanent repairs before an adjuster has inspected
- Request a professional inspection report from your roofer that includes the date of inspection, specific damage findings, and the roofer's assessment of cause
According to the Indiana Department of Insurance's guidance on storm damage claims, homeowners have a right to request a re-inspection if an initial claim is denied or underpaid. A detailed professional inspection report is the most effective tool for supporting that request.
Roof leaks don't wait for a convenient time, and they don't get smaller on their own. If your inspection has turned up water stains, damp insulation, compromised flashing, or any of the warning signs covered in this guide, the next step is a professional assessment. Roof Masters And Exteriors has served Indianapolis homeowners and commercial property managers for over 35 years, combining transparent communication with high-quality materials and workmanship that holds up through Indiana's full range of weather. Contact us today to schedule a roof inspection and get a clear, written assessment of your roof's current condition.
Frequently Asked Questions
How can you tell where a roof leak is coming from?
Start in the attic during or right after rainfall. Look for active water trails running along rafters or dripping from the roof deck. Because water travels along beams before dripping, the wet spot on your ceiling is rarely directly below the entry point. Trace the trail upward to find the source, which is often near flashing around a chimney, skylight, or vent pipe. On dry days, a garden hose test on specific roof sections can help confirm the location.
How long can a roof leak go before causing serious damage?
Even a slow drip can cause structural rot, mold growth, and damaged insulation within a few weeks. Left unaddressed for several months, moisture intrusion can compromise roof decking, ceiling joists, and interior drywall. Mold colonies can establish in as little as 24 to 48 hours in damp conditions. Catching a leak early, ideally at the first sign of water stains or a musty odor, dramatically reduces repair costs and prevents health risks from mold exposure.
What are the early warning signs of roof failure in Indiana climates?
Indiana's freeze-thaw cycles create conditions for ice damming along eaves, which forces water under shingles. After winter, look for curled or cracked shingles, shingle granules collecting in gutters, and nail pops pushing through the roof surface. Heavy spring hail storms commonly cause impact damage that accelerates moisture intrusion. Inspect flashing around chimneys and skylights after major storms, since wind uplift tends to loosen these seals first. These are the most common early indicators specific to this region's weather patterns.
How do I find a water leak in my attic that isn't immediately visible?
On a dry day, bring a bright flashlight and scan along every rafter and the underside of the roof deck. Look for discoloration, white mineral deposits from dried water, or soft spots in the wood. Check the insulation for compressed or darkened sections, which indicate past or ongoing moisture. Pay close attention to penetration points where pipes, vents, or the chimney pass through the roof, since these are the most common entry points for seepage that does not show obvious drips.
This article was written using GrandRanker